Mmmhhh ? ")


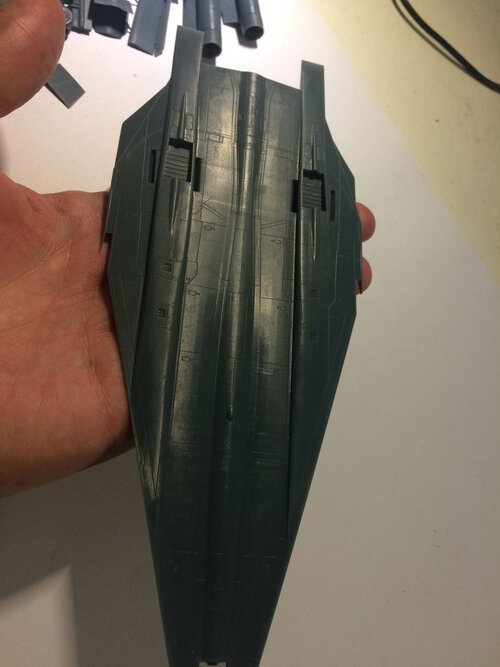
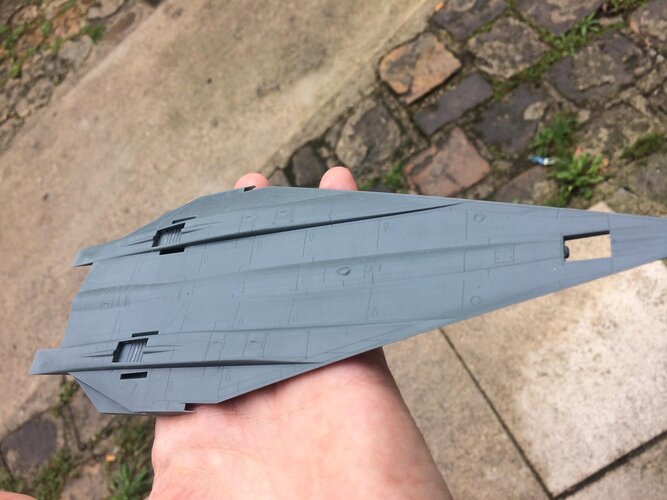
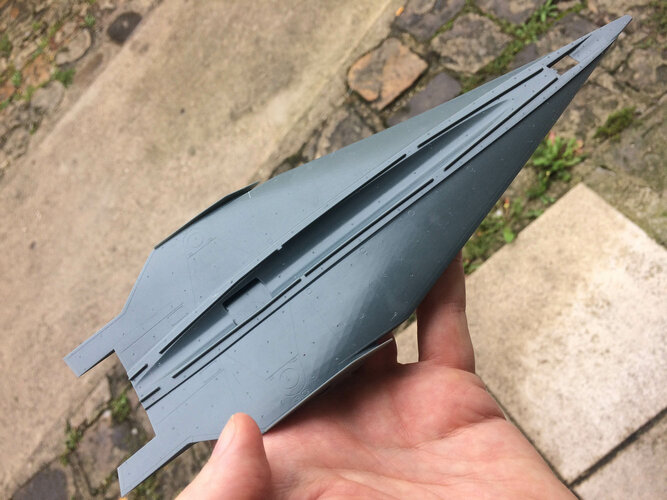
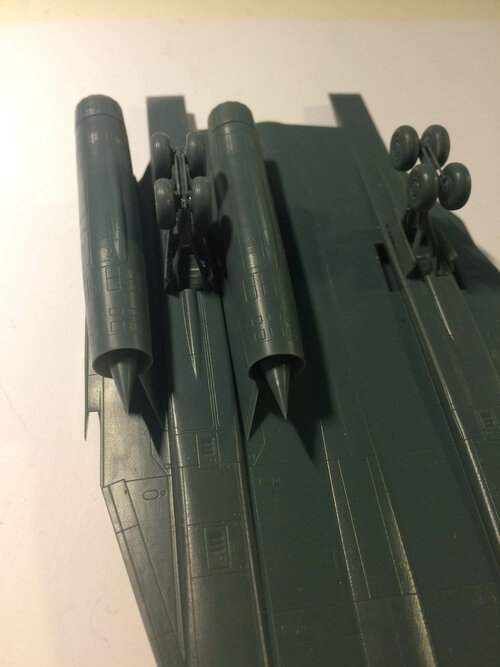
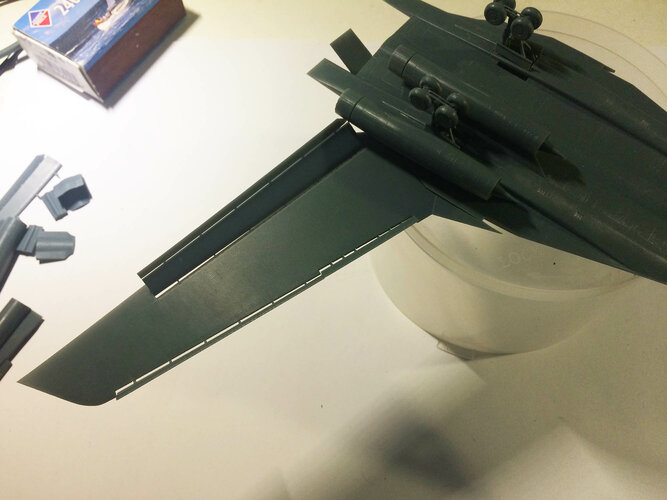
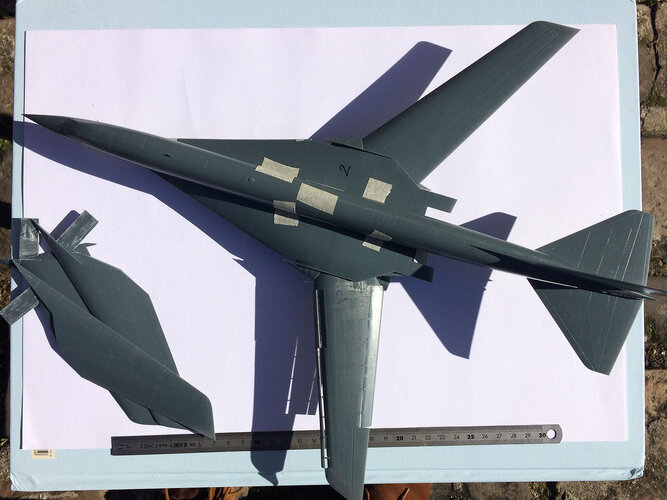
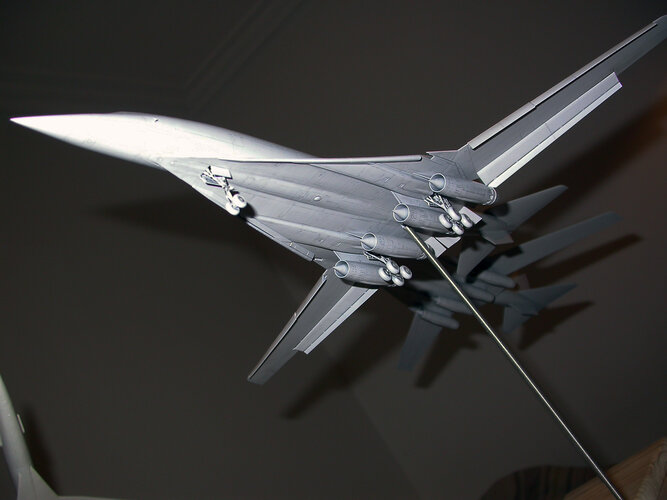
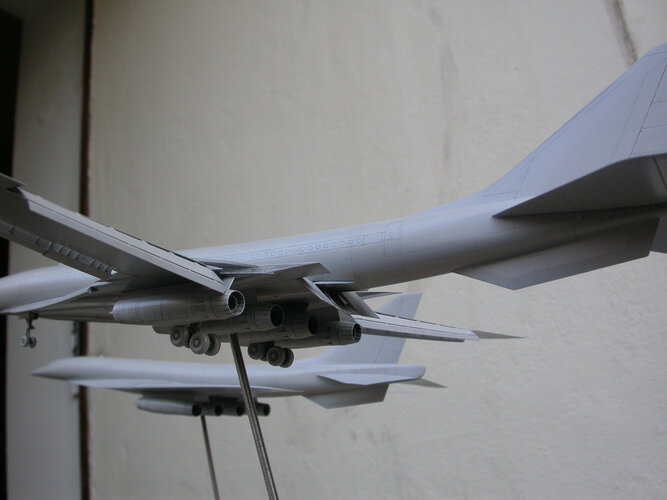
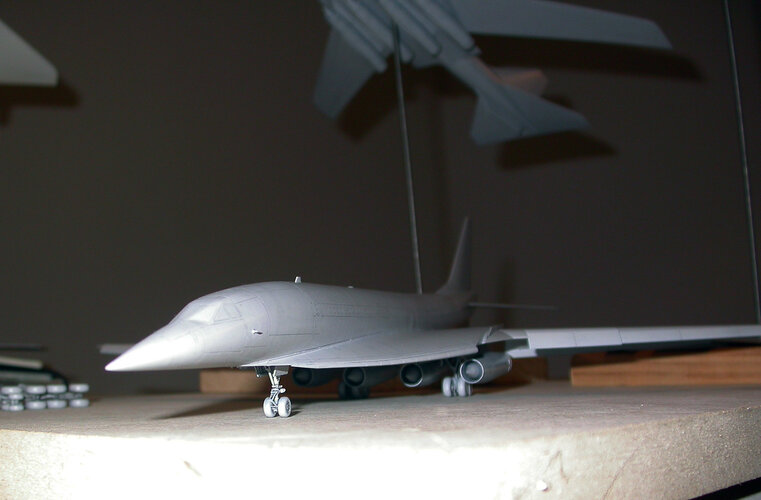
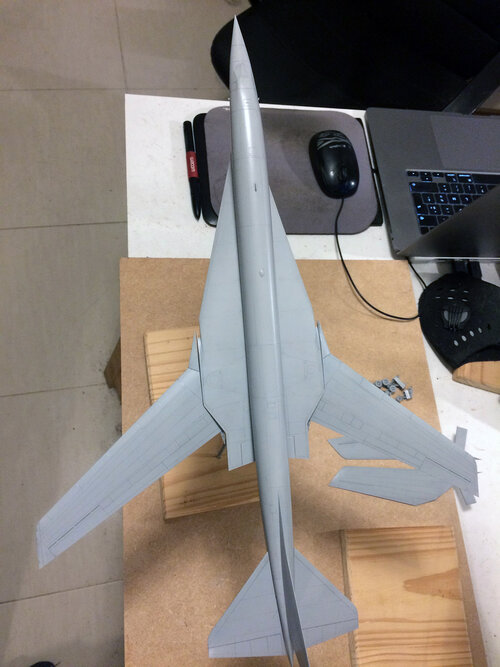
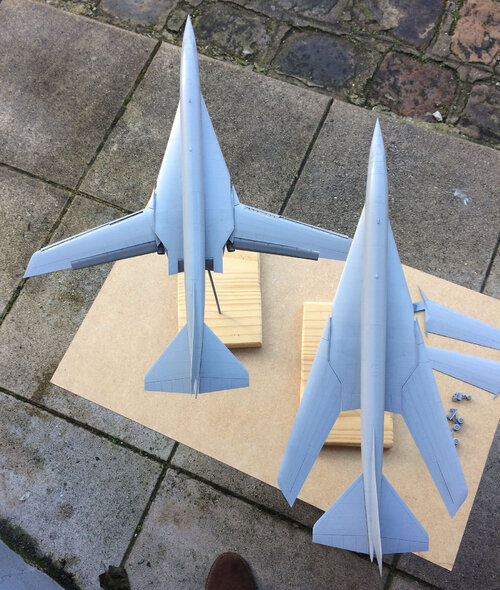
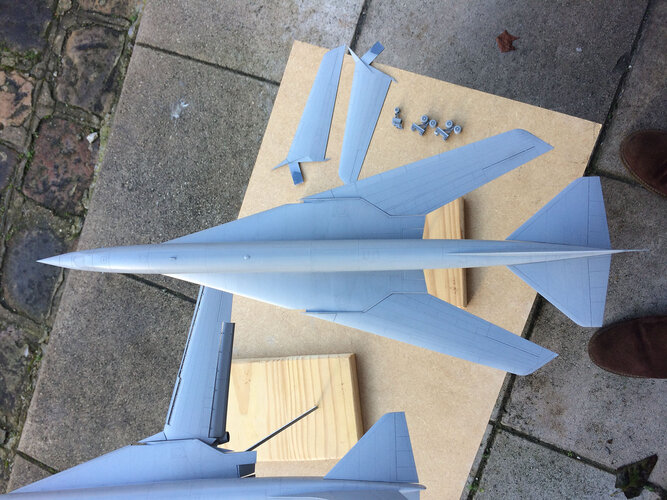
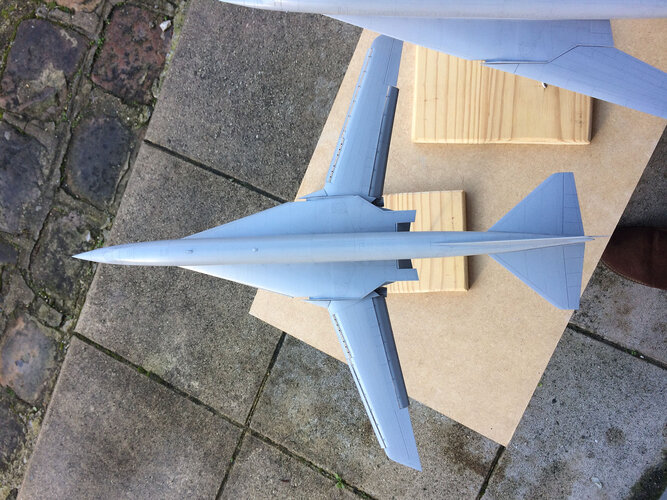
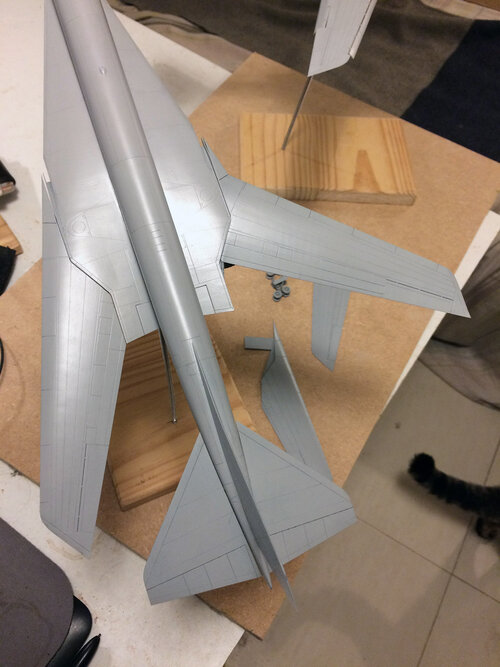
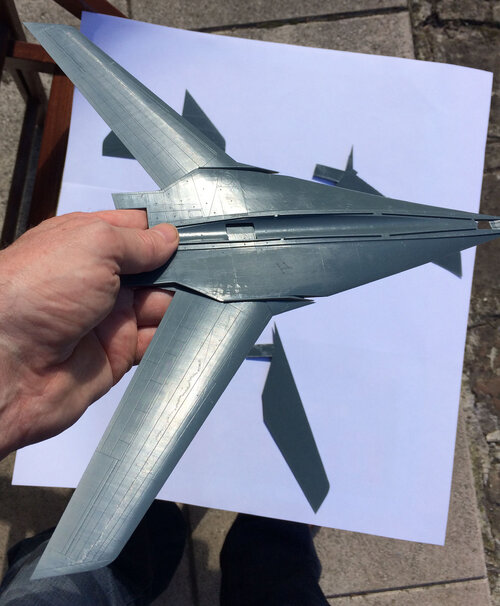
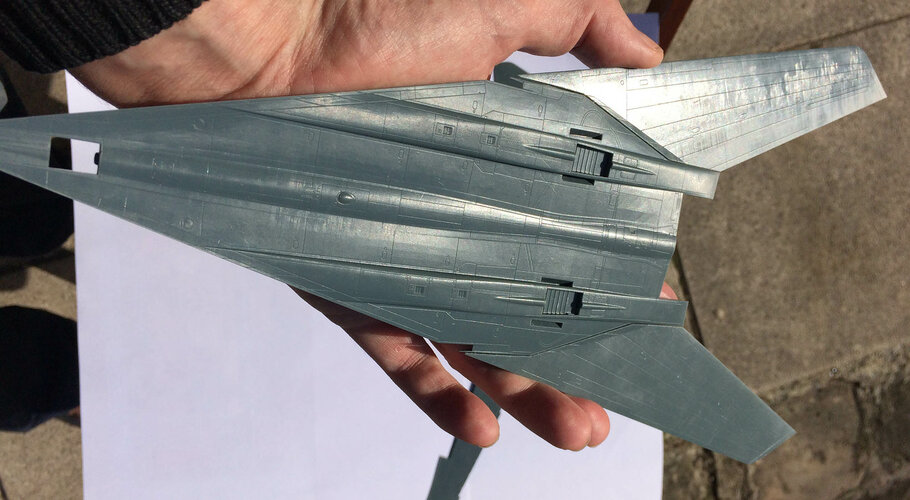
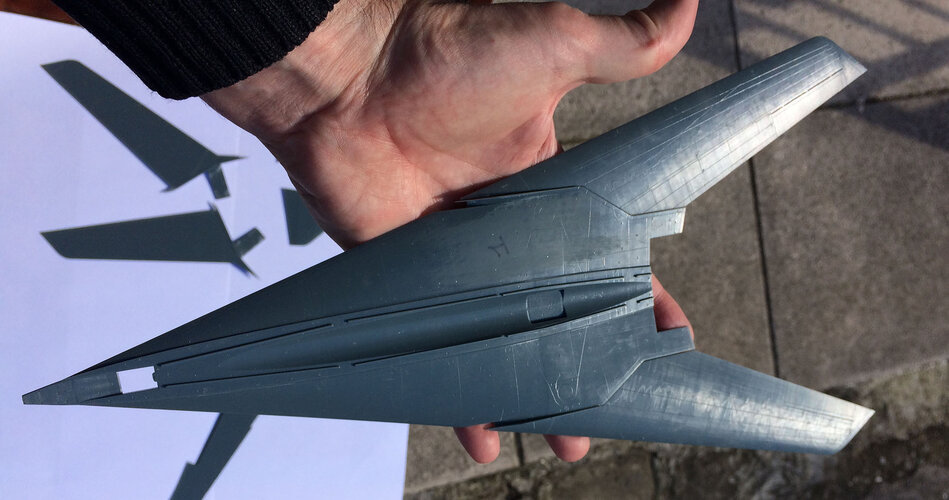
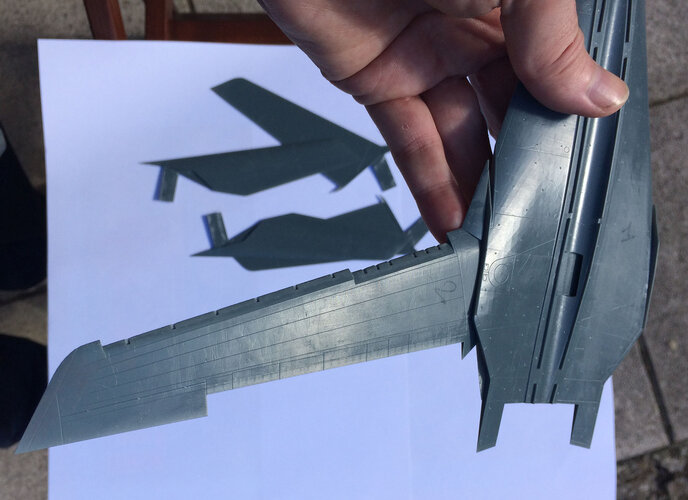
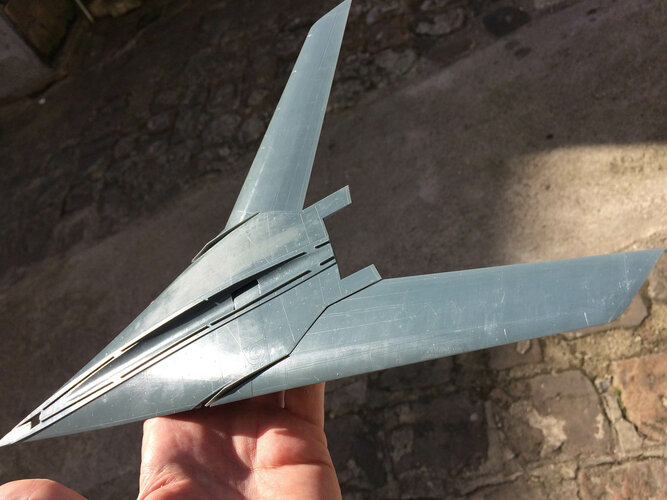
Hi Archie ! Variable geometry indeed, not Dassault.Smells like variable geometry. Perhaps from Dassault ?
Nope.F-14 Tomcat?
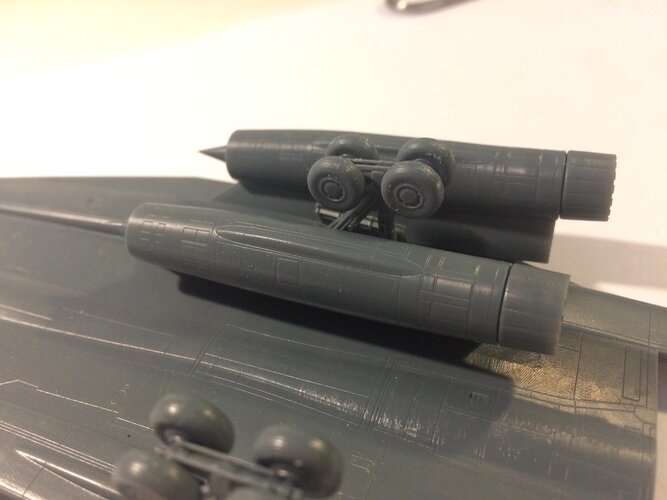
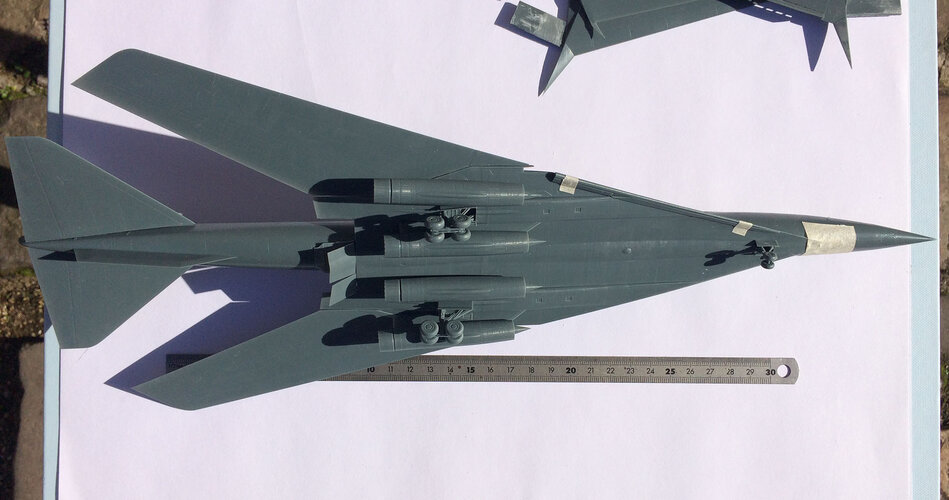
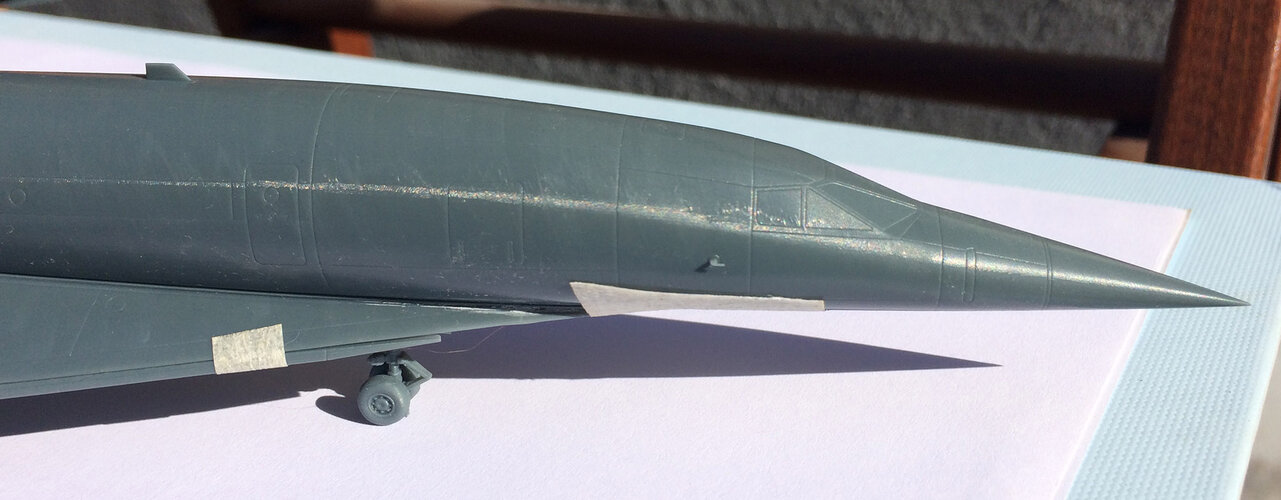
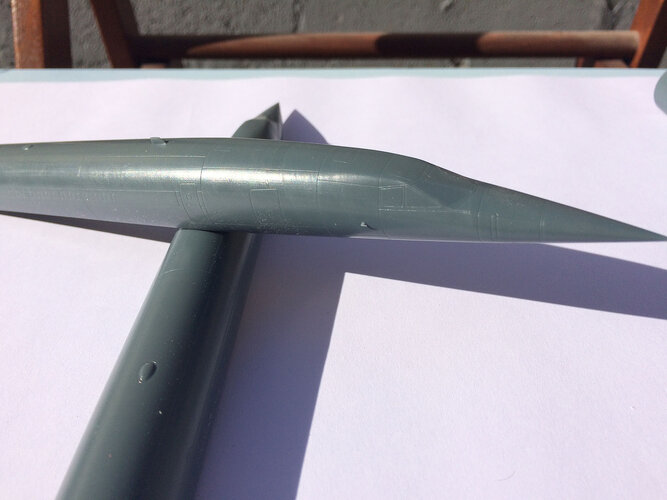
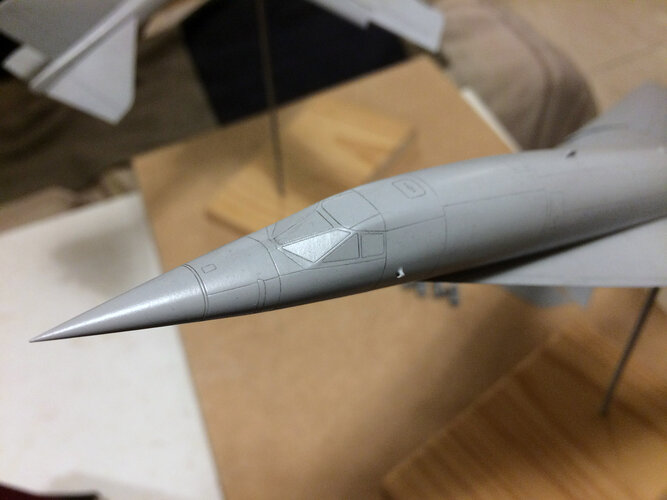
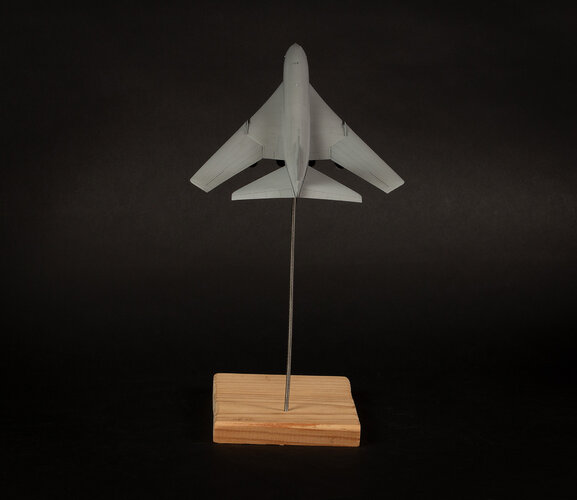
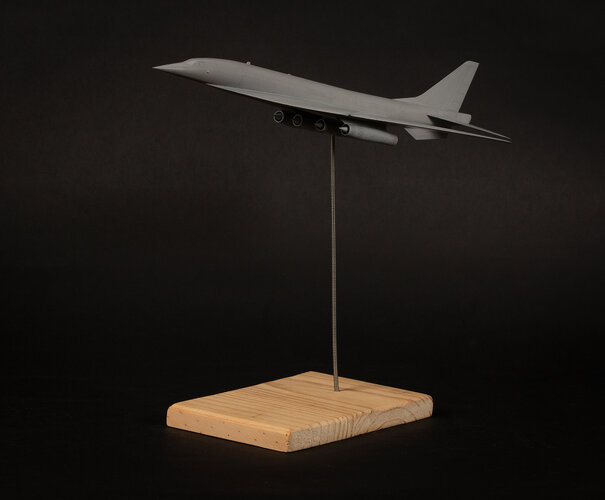
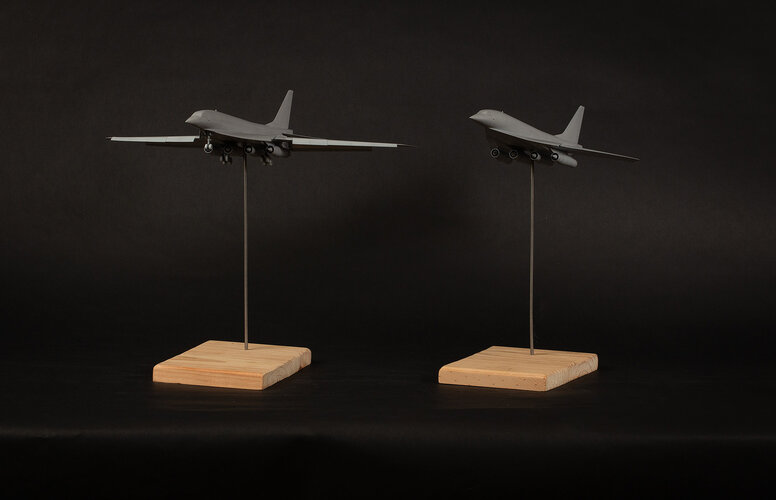
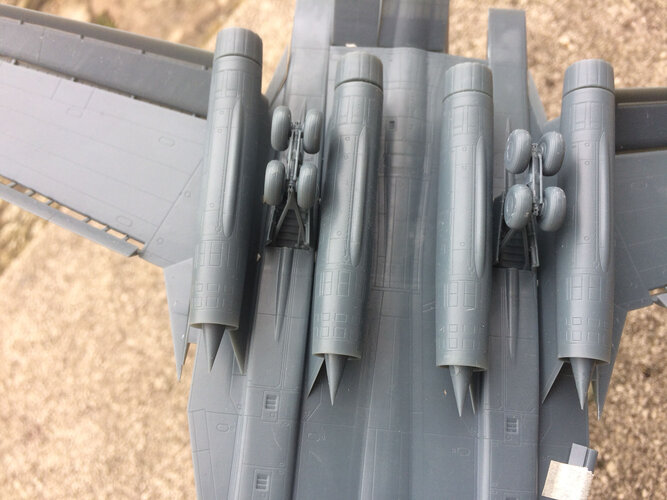
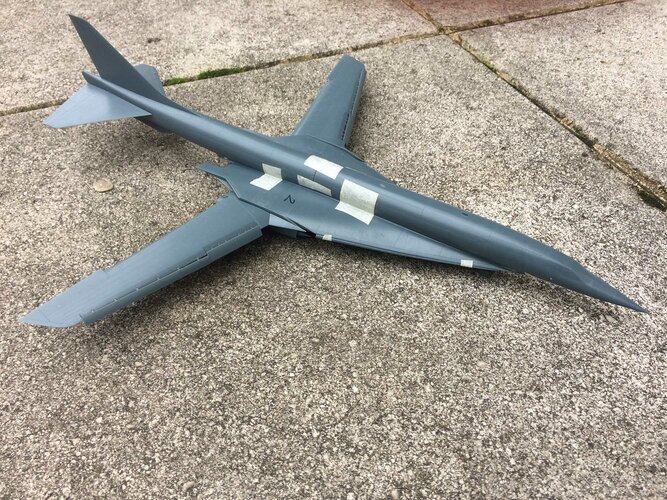
Nah Sir. Not that one either. A hint, it's civilian.I was going to guess Mirage G too, but the LE dog tooth does not match... V507? But the dog tooth seems too far inboard for that?
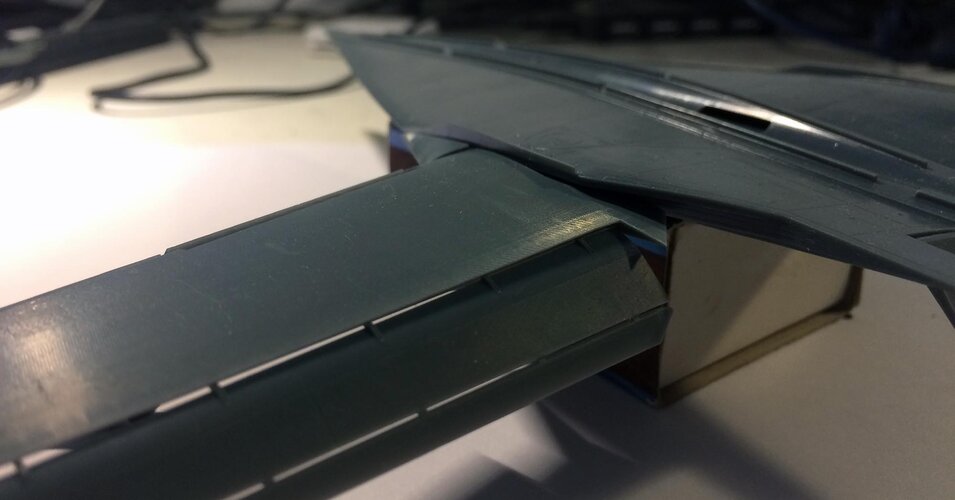
Nah Sir. Not that one either. A hint it's civilian.
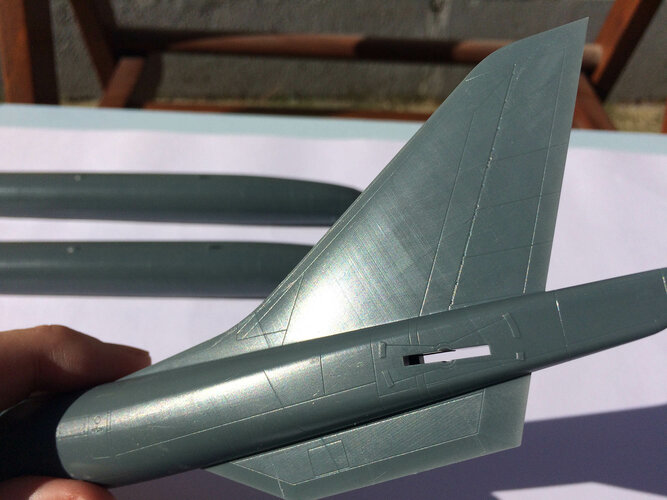
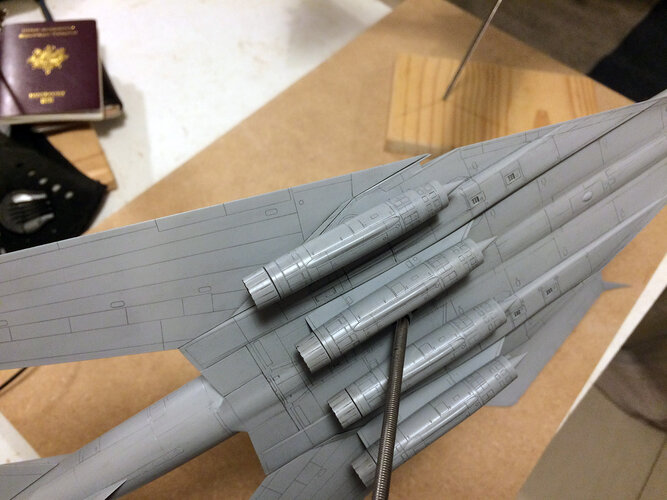
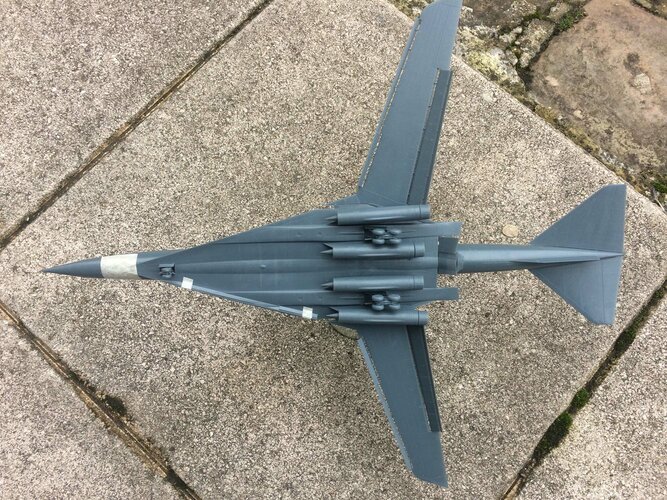
Boeing 2707-100? Two section lap looks like the give away.....Nah Sir. Not that one either. A hint, it's civilian.
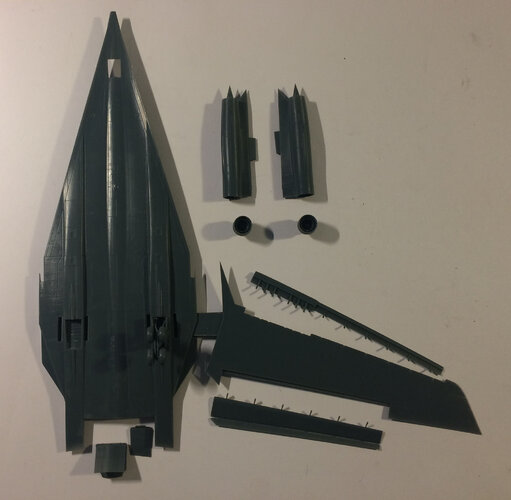
very close and relatedBoeing 2707-100? Two section lap looks like the give away.....
Enjoy the Day! Mark
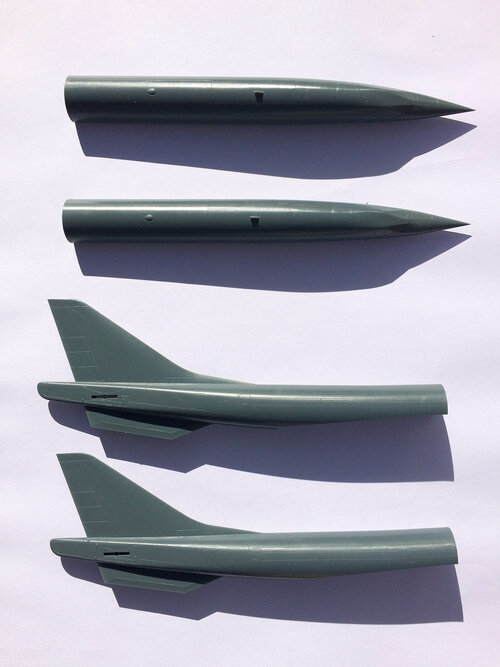
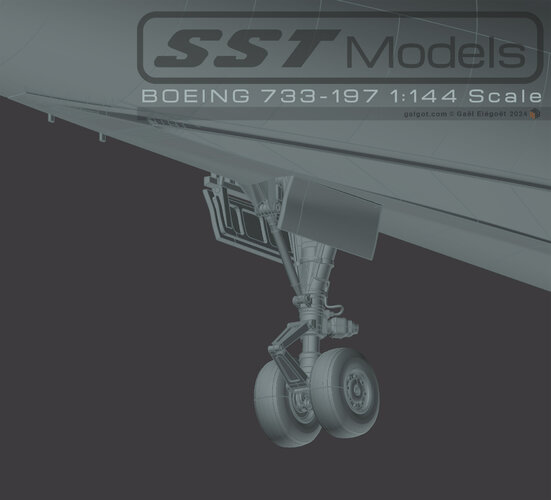
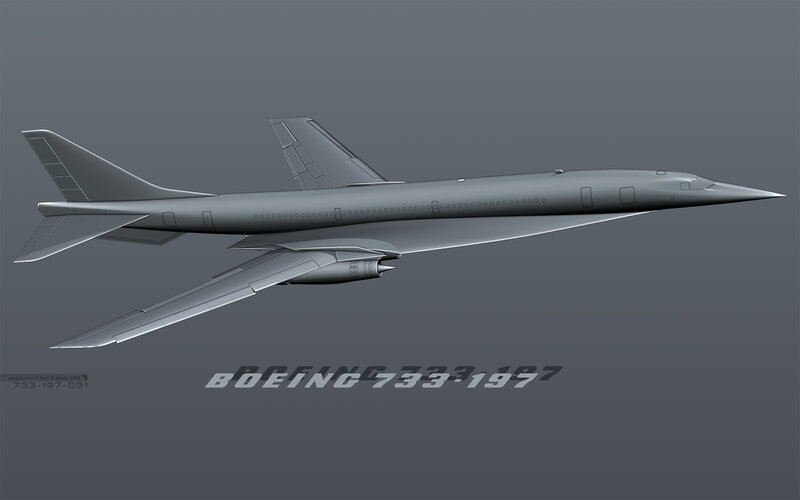
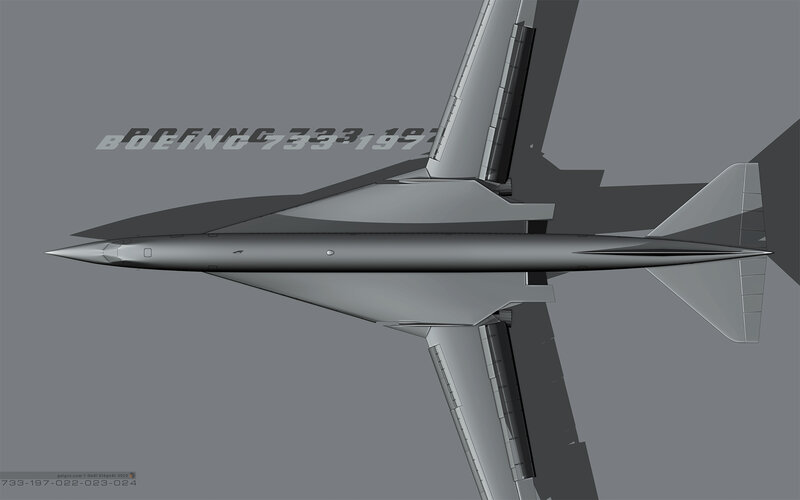
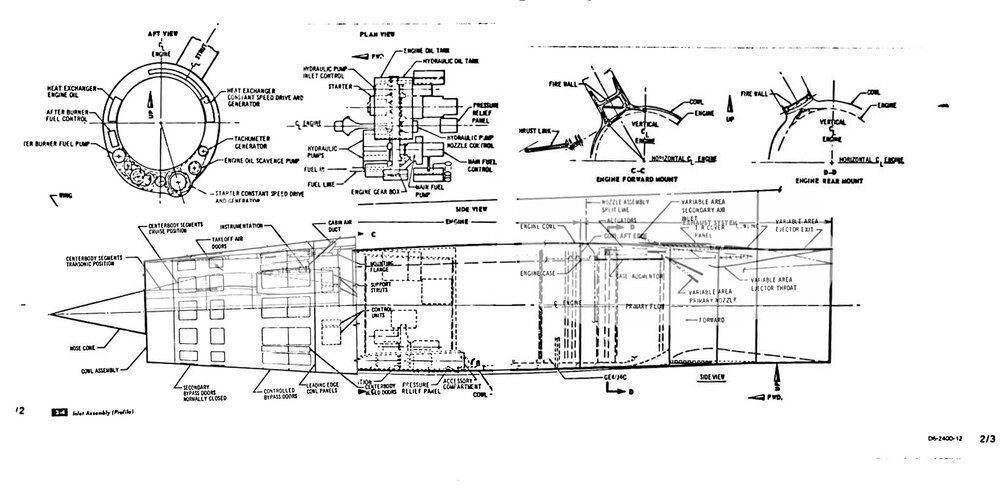
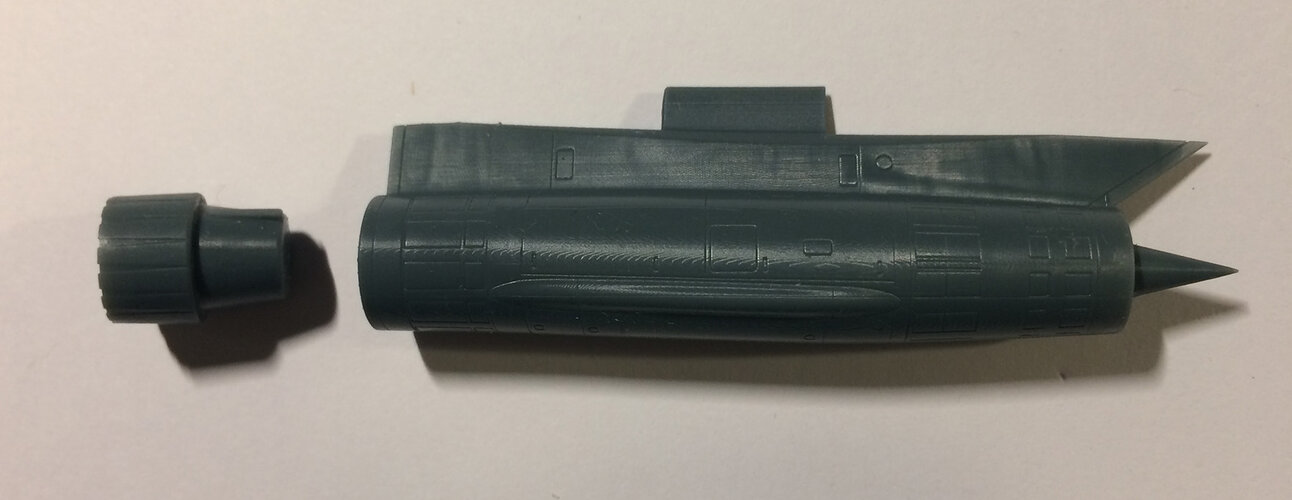
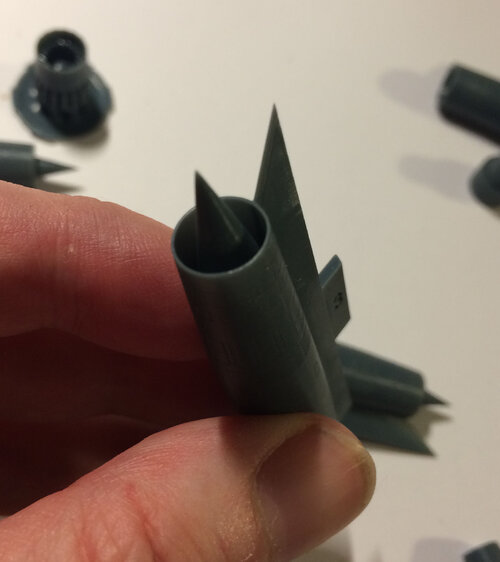
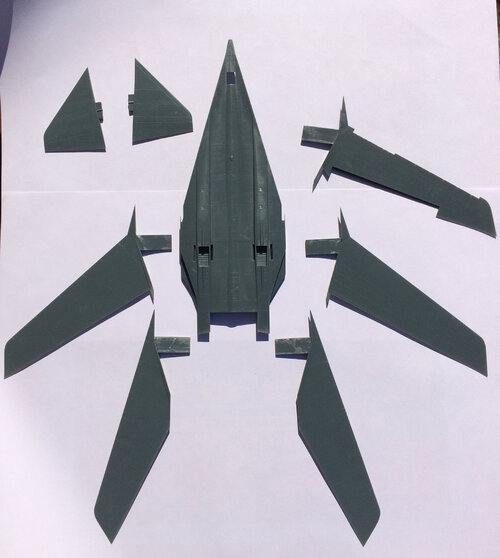
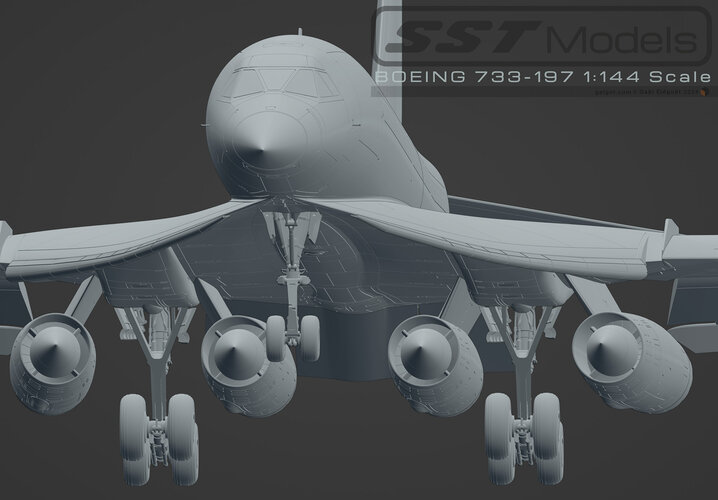
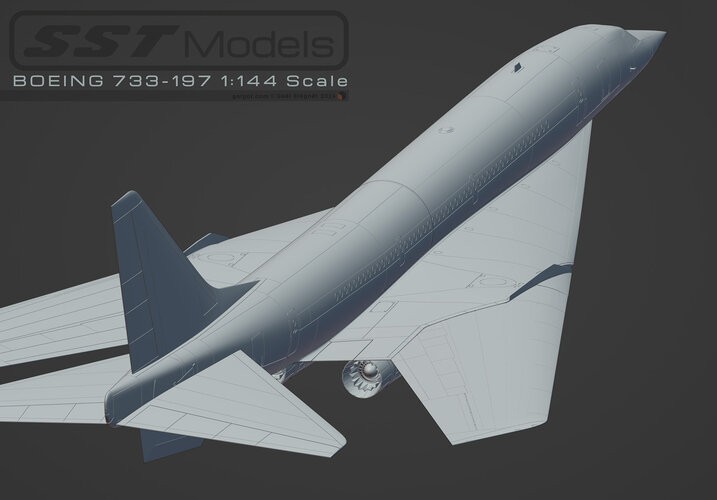
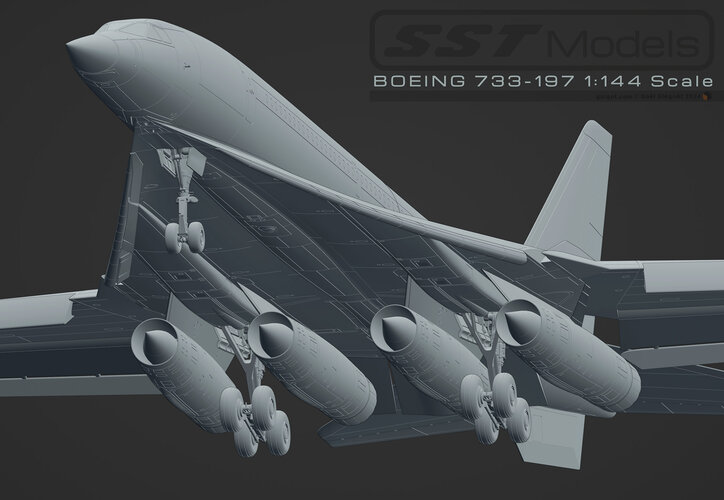
Boeing 733-197 :


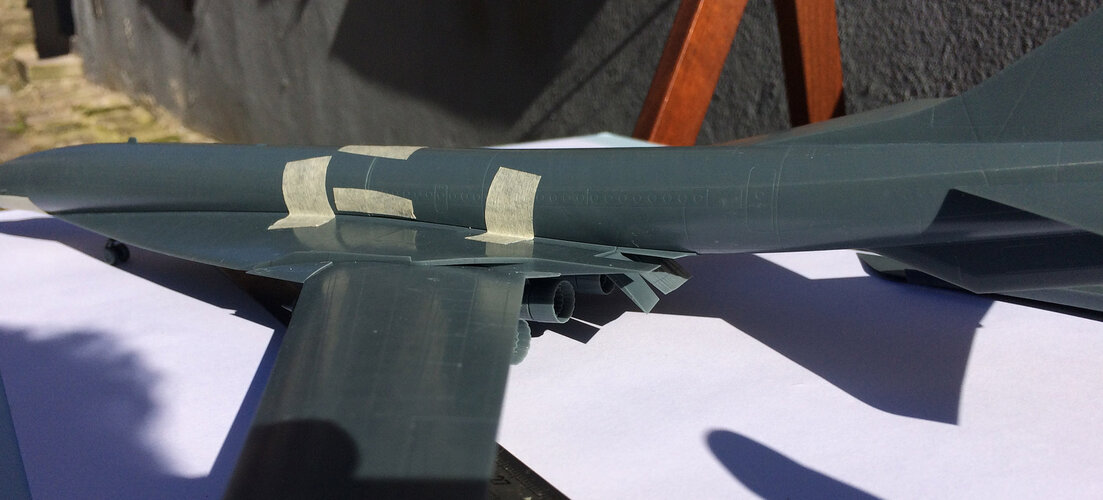
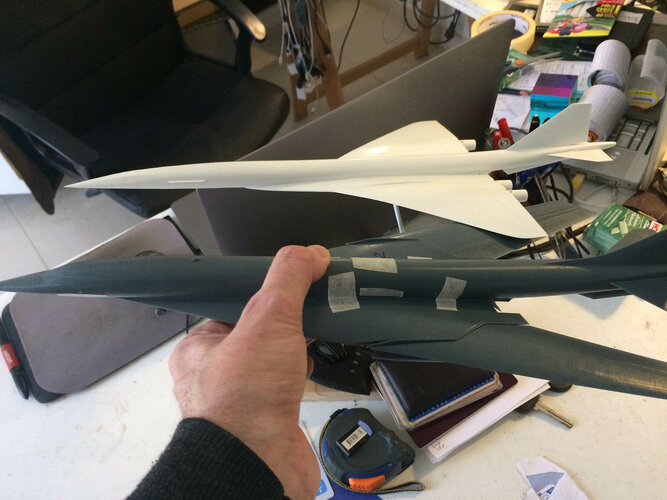
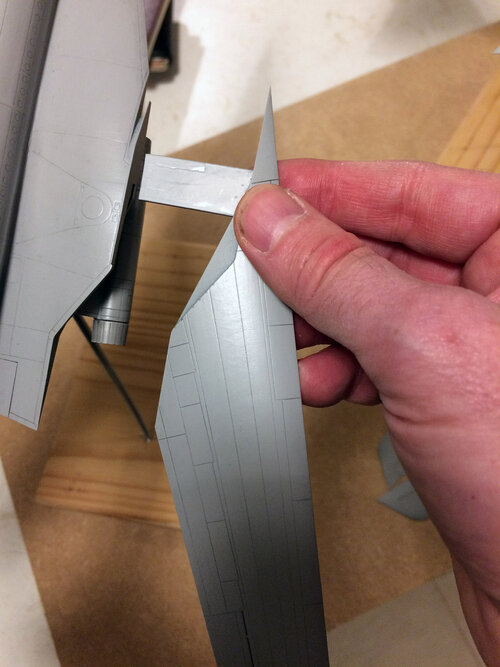
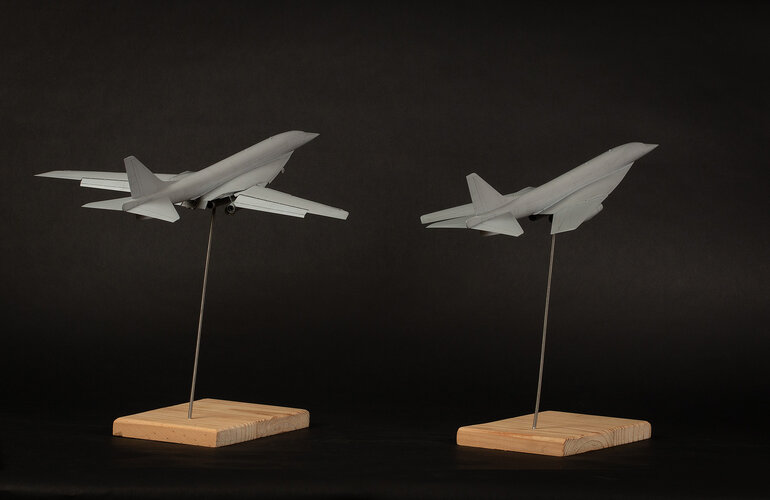
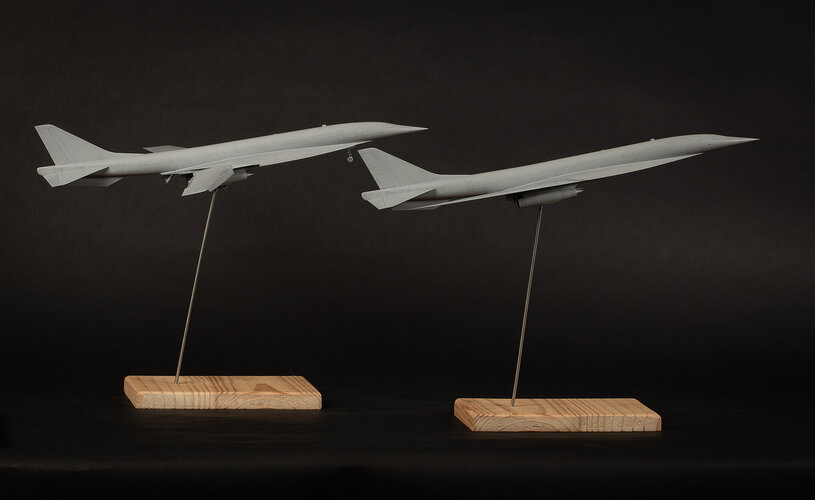
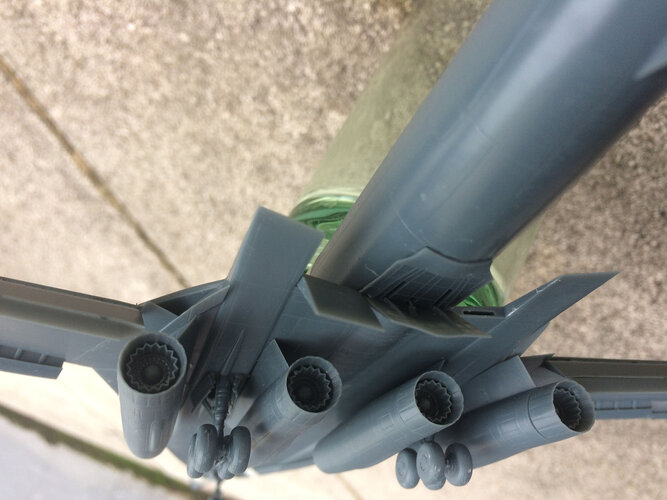
Ah, sorry to disappoint. I am a bit SST obsessed.I was hoping for a Tomcat ST-21 with the improved and enlarged leading and trailing edges for a few seconds.
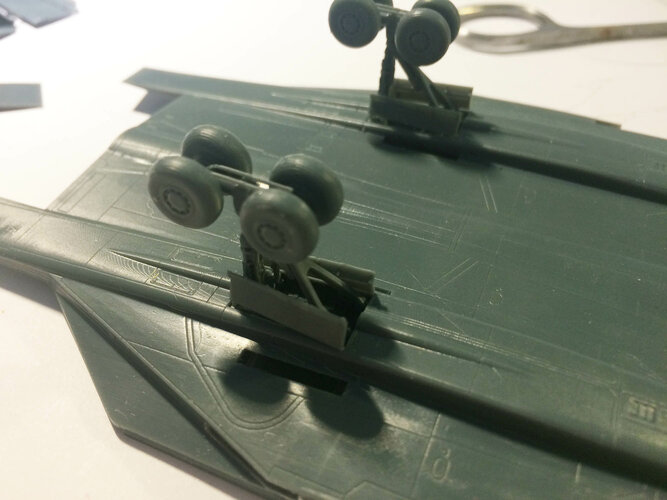
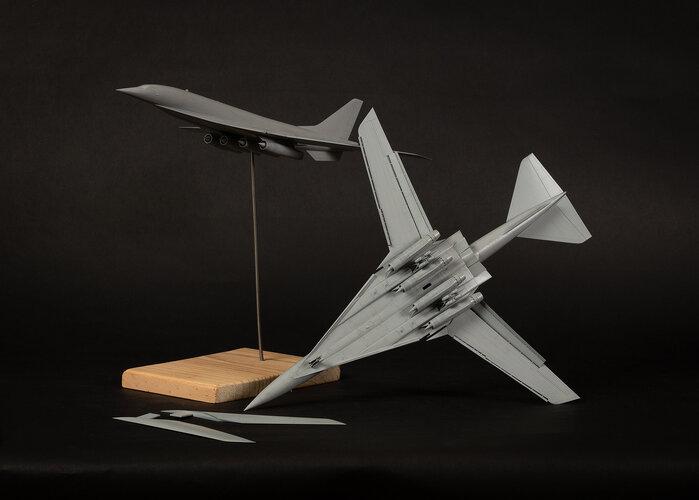
But awesome work nonetheless!