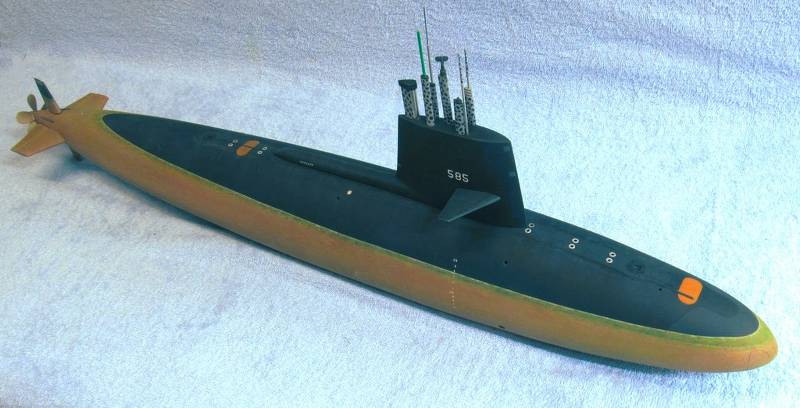
Well, I finally completed my 1/96 SKIPJACK.
Again!
I've built so many of these things – for friends, customers, and a few institutions – I've lost track. Each time I build one of these beasts with the intent of making it my own eventually someone makes me an offer I can't refuse, and it's gone.
This one stays with me, no matter what!
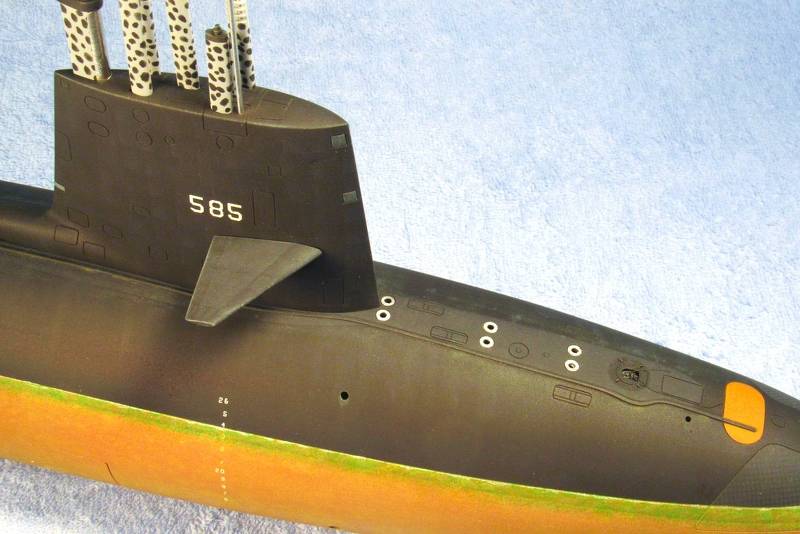
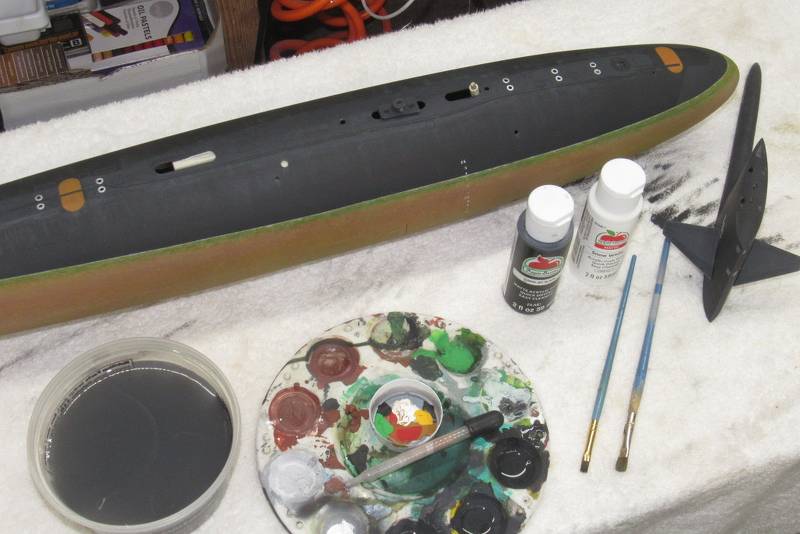
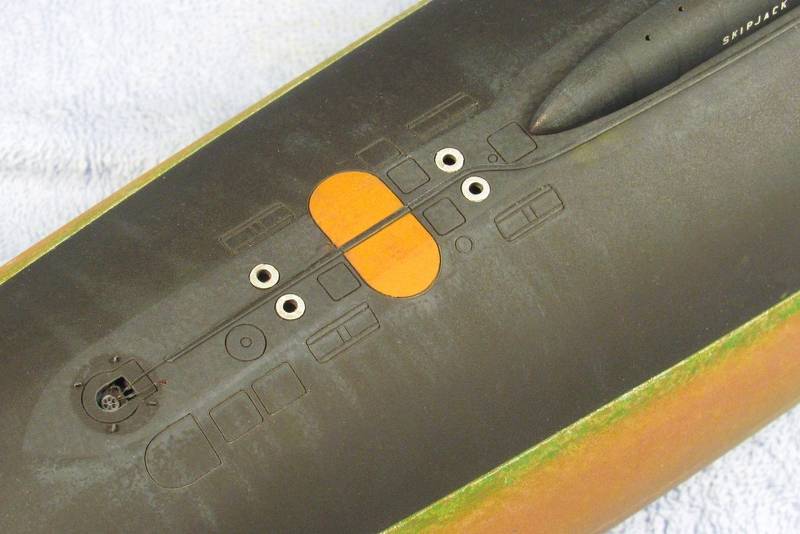
Three were two final detailing tasks before I considered the model done. The first was to represent 'scuff marks' on the non-skid portions of deck and atop the two fairwater planes. The non-skid itself is represented by a slightly lighter shade of the dark, dark gray of the upper hull, fairwater planes, and sail. Scuffing would be represented by a slightly darker color of that gray applied with a small stiff brush employing a stippling action done with a very light touch.
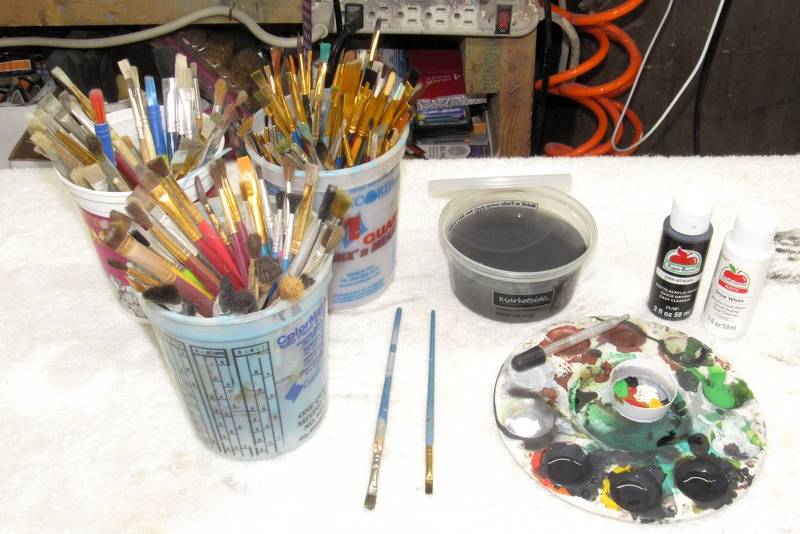
Here I'm working out the shad of gray and technique on the test article. The medium of choice here was the old reliable Walmart acrylic, water soluble paints, well thinned with water.
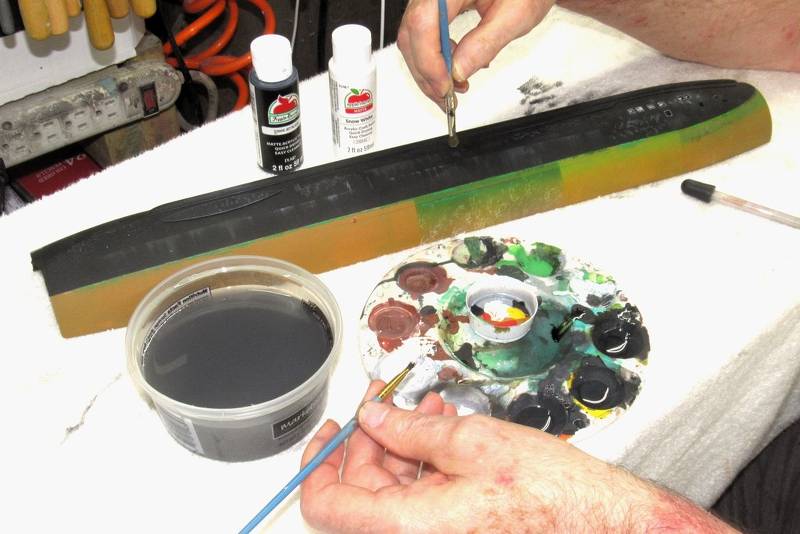
Once happy with the results on the test article I moved on to the model itself.
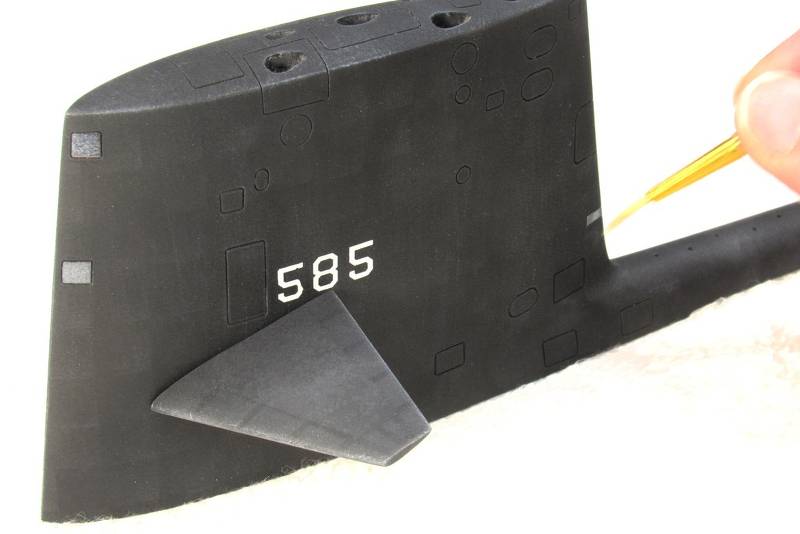
Most scuffing is owing to foot traffic, so most of the scuffing was done adjacent to the two escape trunk access hatches and retractable cleats.
The hardest part of the scuffing job was finding just the right brush to do the job right. This illustrates the selection process – all worked out on the test article.
The scuff marks on the 'international orange' marker buoys was the same gray but watered down even more so as to reduce the pigment content – I only wanted the suggestion of foot traffic over these bright and contrasting surfaces.
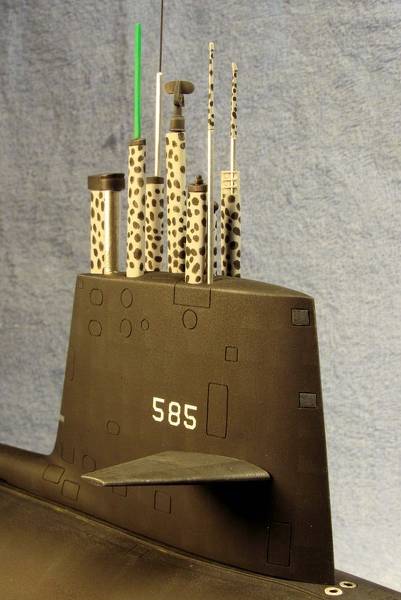
An access door either side of the sail permitted people to stand atop the fairwater planes (watch-standers, shark-watch, semi-naked go-go dancers... that sort of thing). So, the non-skid portions atop those planes also got some scuffing.
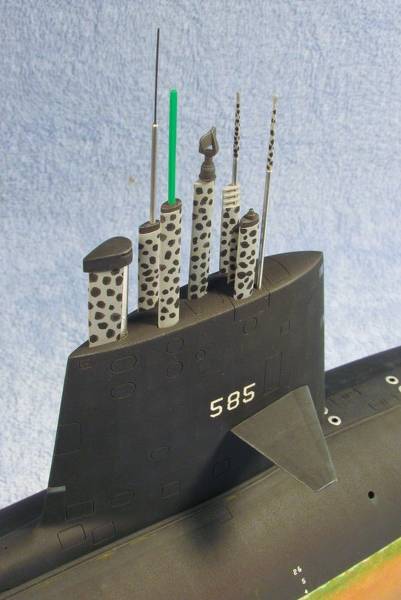
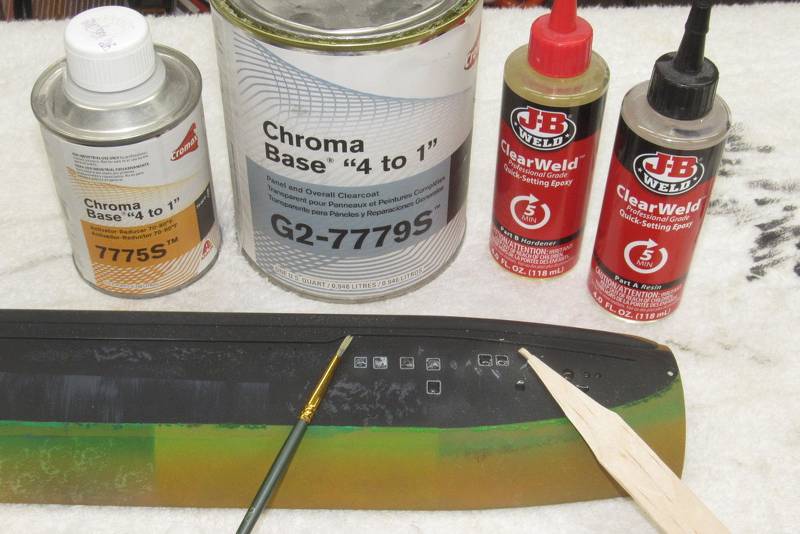
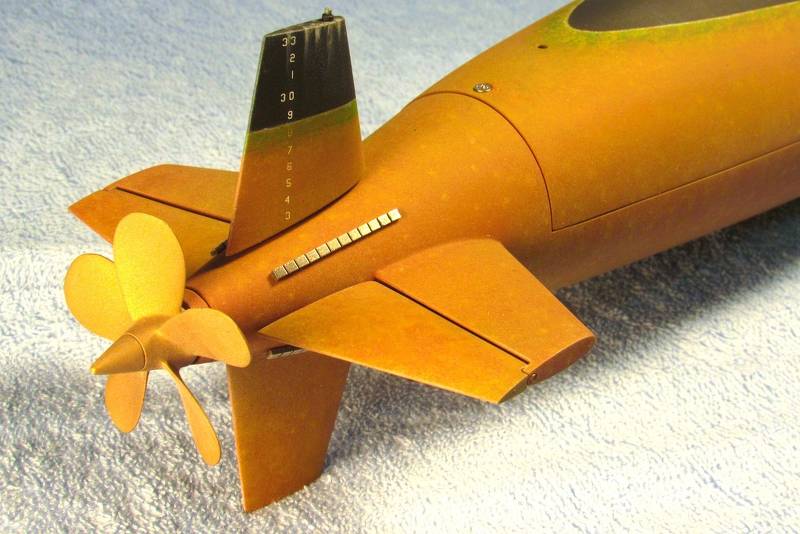
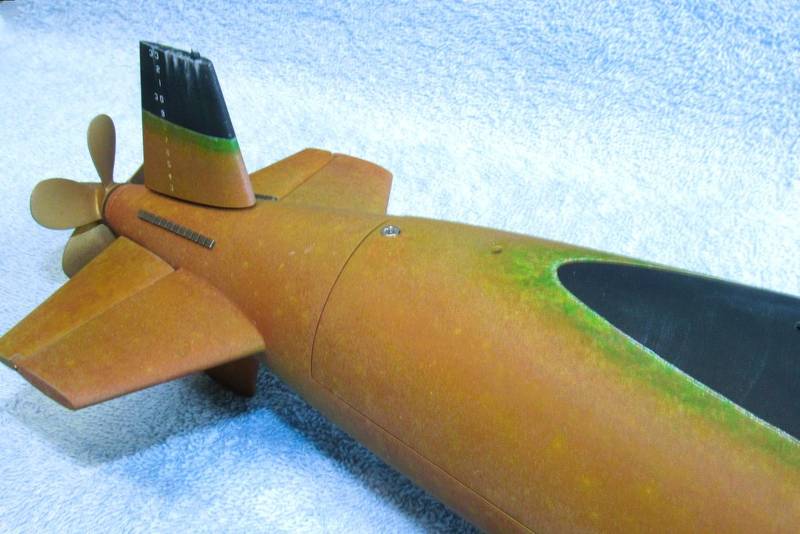
The second job was to give the deadlights (the four supposedly clear 'windows' at the leading edge of the sail); the wrap-around lens of the emergency stern light, at the trailing edge of the sail; and the lens over the stern light mounted atop the upper rudder a clear gloss finish.
I engraved some deadlight outlines onto the test article and tried both epoxy adhesive and two-part polyurethane 'clear-coat'. The clear-coat won being easier to apply with a brush than the glue.
Here I'm brushing on some of the glossy clear-coat to the sails emergency stern light lens.
The hemispherical lens over the rudders stern light got the clear gloss treatment as well.
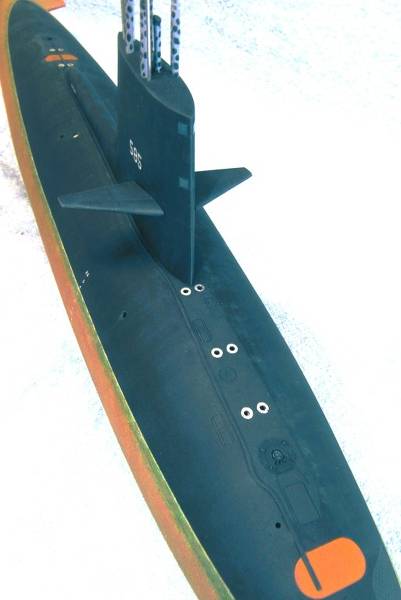
You can just make out the non-skid from the rest of the hull and fairwater planes, there being a slight variance in shade between the two.
Also note the simulation of 'oil-canning' to the sides of the sail. Represented only with slight variations in color density, the effect is to produce the suggestion of metal distortion between stringers and frames.
It's easy to over-state such things. Always keep in mind with weathering and paint detailing: Less is More!